Install FSX Aircrafts
Posted by jackfolla on June 19 2007 03:25:42
Introduction

Installing third party aircraft will greatly enhance your experience with FSX.The majority of complaints installing add-on aircraft stem from a lack of procedural knowledge and folder/file placement. Microsoft's FSX has differed from the "norm" of the past few releases with this go around. Once the directory structure is understood you will be well on your way to building a decent airplane library for yourself.

Great news. Microsoft has given us many more birds this time! In my early beginnings FS5/FS98 we had little to choose from, but we loved 'em anyway.

If aircraft are not installed correctly, you may end up with errors or no addon vehicles at all. This guide will explain the most common area's of installation that need to be addressed.

Good Luck!

 
Zip Utilities
aircraft downloads
 
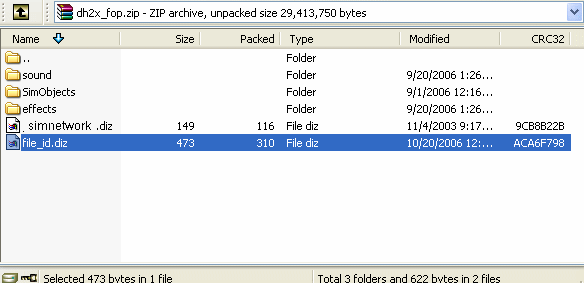
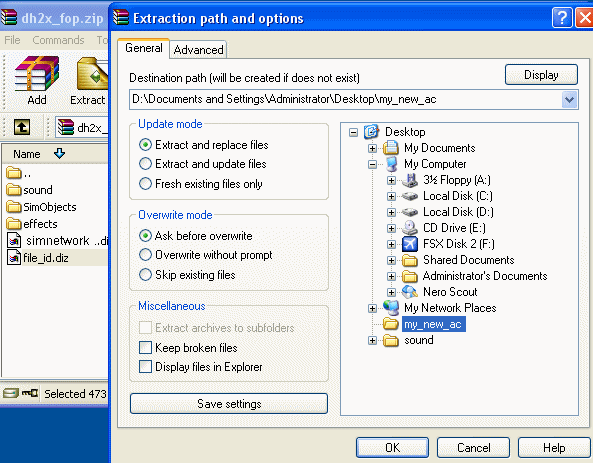
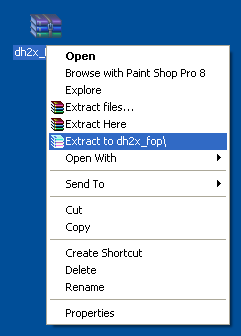
You will need an unzip/rar utility to de-compress and install files from the net. There are many to choose from so Google a unzip program for yourself. This is a personal choice but remember to either make a "work" directory such as "my_new_ac" or something to that effect.* It will greatly improve the speed and accuracy of your installation.

A file manager, such as Explorer(see image)which is part of Windows, is also necessary to move/copy files during this process. 

 
*Note
It's important to Unzip your downloaded files into a temporary directory on your hard drive first. As explained above. Files can sometimes go all willy-nilly if you just extract without direction.


In this tutorial we are using Premier Aircraft Designs lovely DeHavilland DHC2-MK3 Turbo Beaver Amphibian, Ontario Ministry of Natural Resources.


Often, add-on downloads come with files already divided into separate directories. Simply unzipping them into FSX main folder or airplane directory may result in total file chaos!

In the worst case scenario, the simulator my not be able to find your files or it replaces the default folder and then sim goes poof! So, follow the above extract routine.

Below you can see the new folders after the extract operation inside our "Temp" Directory my_new_ac.


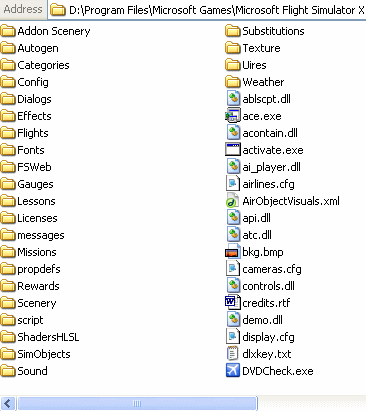
Now it's time to go to our FSX directory and have a peek at the guts of the sim.


Manual Installation
The basic principle of this operation (manual installation) assumes you are not using a downloaded add-on that's an executable in itself, in many cases these types of files will do all the extraction and placement without any further work from you. We suggest you do this method at least once to familiarize yourself with the inner workings of FSX.

So starting from the directory of your FSX installation look for effects. Cut and paste or copy if you want all the effects files from your temp folder: my_new_ac/effects to the FSX folder: Program Files\Microsoft Games\Microsoft Flight Simulator X/Effects. Be careful! If you are asked to overwrite, check twice. Usually seasoned authors will create their own effects so replacing is not necessary. This certainly un complicates matters.

Next we will locate the actual airplane inside the folder: my_new_ac\SimObjects\airplanes

We want DHC2_BeaverMK3T_C-FOP and a folder called fsfsconv included so we will cut and or copy and paste those folders to Program Files\Microsoft Games\Microsoft Flight Simulator X\SimObjects\Airplanes


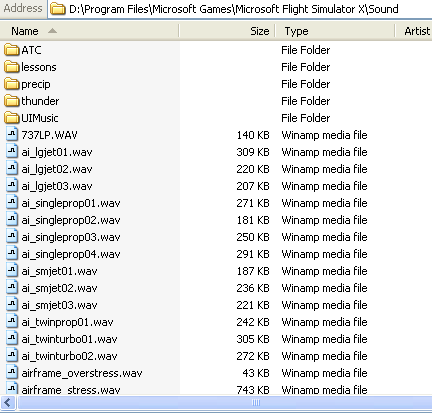
Now, we want the sounds in the package that are in the folder my_new_ac\sound\Groundhandling so, we will cut and or copy and paste those to Program Files\Microsoft Games\Microsoft Flight Simulator X\Sound

And you're done. The Aircraft will now show up in your menu right beside the default Beaver.